
3.5 Muzzle Devices & Handguard (EP9 MDB)Updated 5 minutes ago
WARNING: Always confirm that any muzzle device is appropriate for use with the designated caliber of the firearm. If you are not sure or do not have the capability to physically confirm this, consult a qualified gunsmith.
The Extar EP Series pistol is uniquely designed to accommodate easy and efficient muzzle device work in an uncommonly sensible manner. Do not attempt to use “upper vise jaws” or any similar devices designed for other firearms. Simple and common hand tools are all that is required and all that should be used to prevent damage to your pistol.
3.5.1 Remove the factory muzzle device first. It implements a washer and o-ring for required retention and can be removed by hand with a firm grip. Any device that does not require rotational orientation (timing) should be mounted using the factory washer and o-ring as tightly as one can accomplish by hand. Torquing is not necessary with these types of devices, and the washer and o-ring prevent any loosening during use.
3.5.2 Remove the handguard by removing the two retaining screws on the backside of the hand guard retainer, using a Phillips head screwdriver. (fig 12)
3.5.3 After both screws have been completely removed, the hand guard may now be pulled firmly forward to release it from the retaining slot at the front of the upper rail. (fig 13)
3.5.4 For muzzle devices that require orientation or torquing and are small enough to pass through the handguard, standard open-end wrenches should be used to perform required work. (fig 14) For additional stability the wrench flats on the barrel can be covered with heavy protective paper and lightly clamped in an appropriate area of a vise, but this is usually not necessary and wrenches are the preferred method to avoid damage. If a vise is used on the flats, tighten only enough to hold against rotation, as a powerful vise could easily deform the barrel bore.
3.5.5 Assemble in reverse order. Make sure to only hand tighten the handguard back on and do not use power tools.
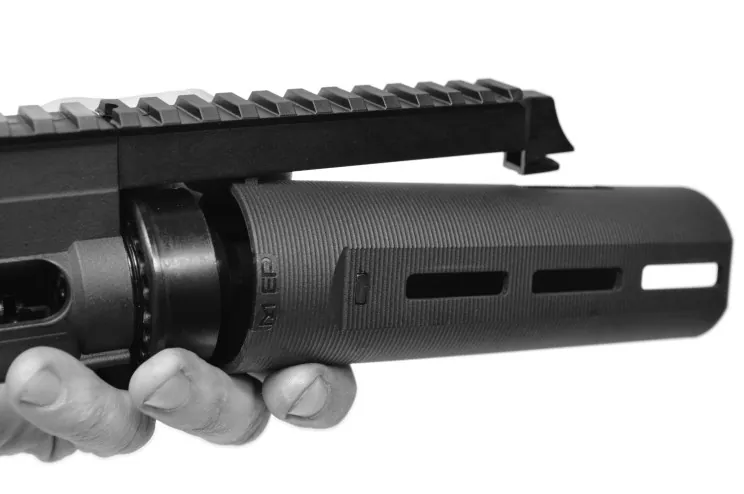 Figure 12
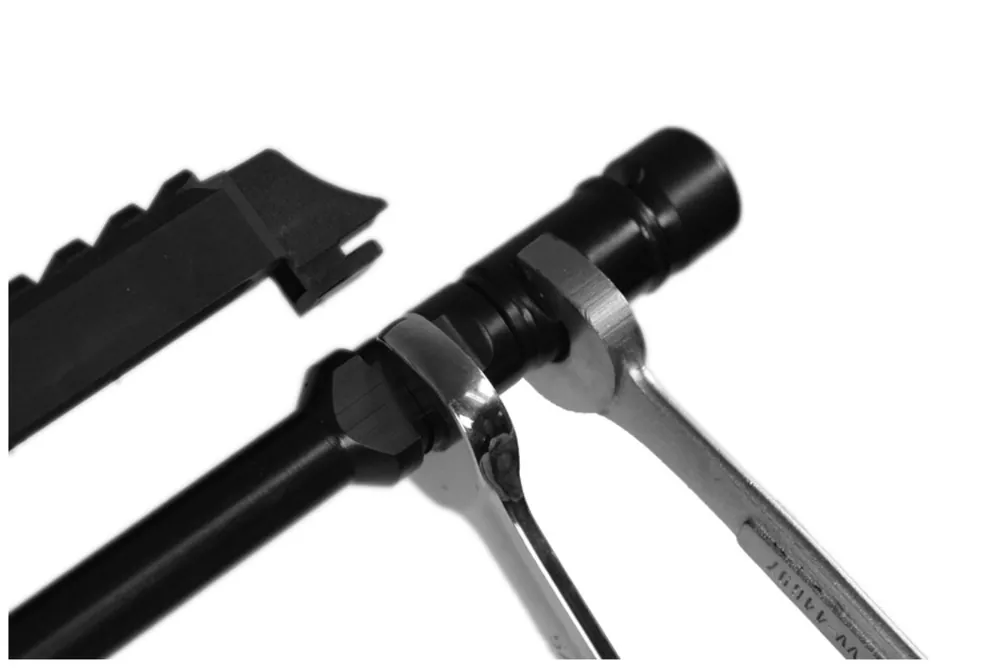 Figure 13
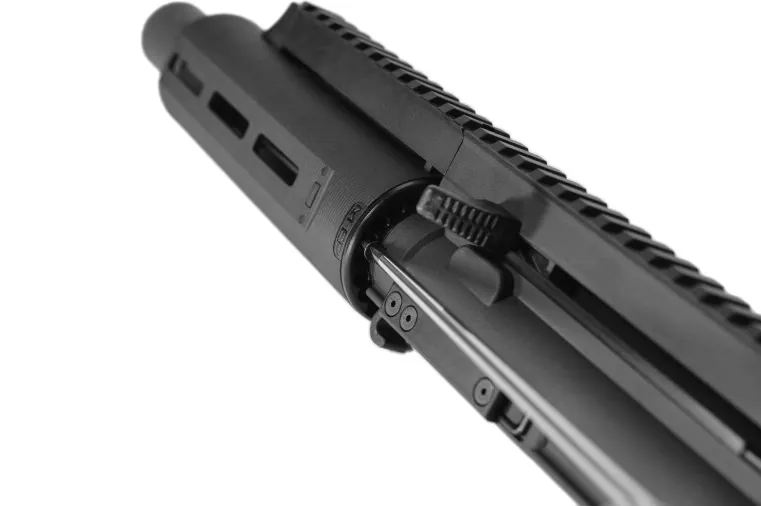 Figure 14
← Previous: 3.4 MDB Assembly Service | Complete Owner’s Manual | Next: 4.1 Parts Identification →